
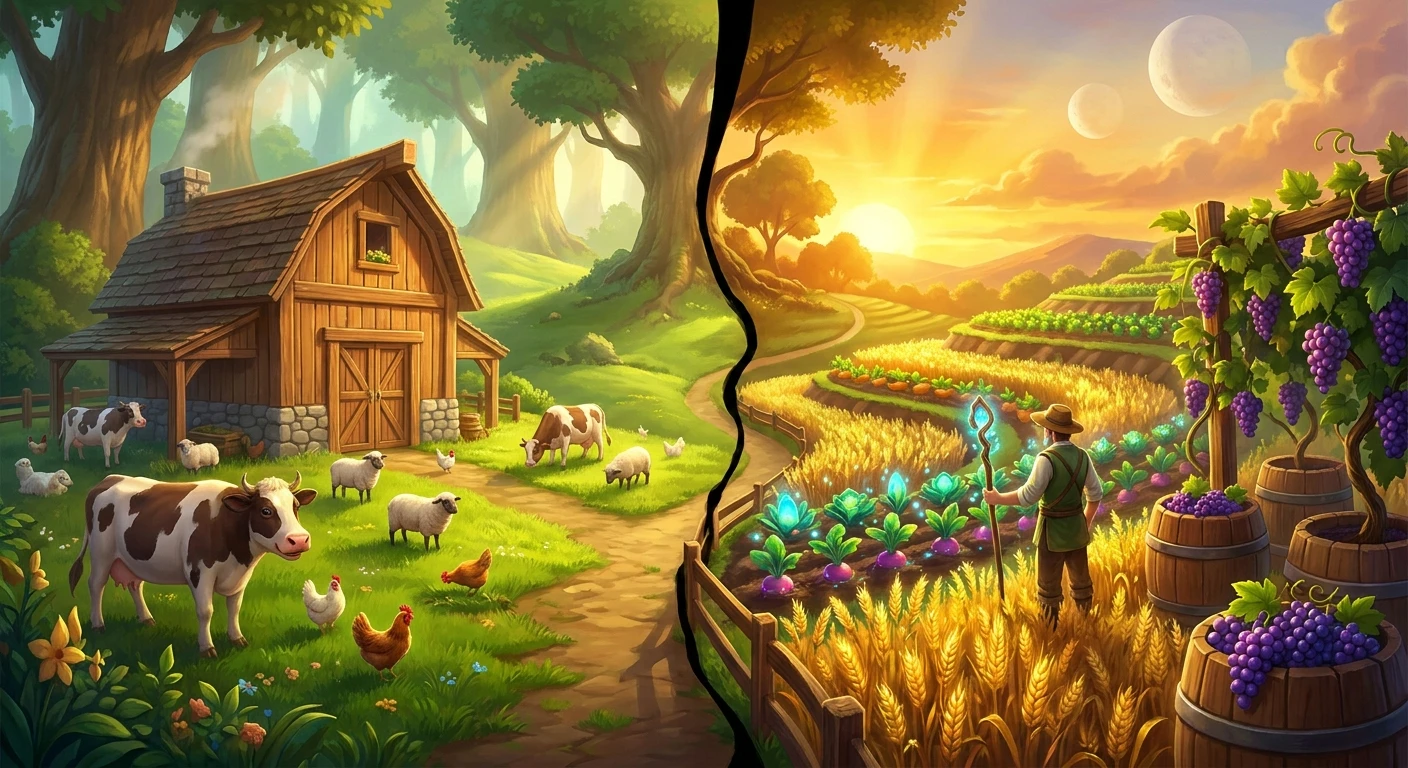
Stardew Valley Rancher or Tiller: Making the Ultimate Choice
Are you staring at your screen late at night, entirely paralyzed by the decision of becoming a Stardew Valley Rancher or Tiller? Reaching Farming Level 5 is a massive milestone for any player, but it also forces an economic decision that fundamentally alters your daily routine, farm layout, and long-term financial ceiling. When that level-up screen suddenly appears after a long day of watering crops and petting chickens, you are presented with a seemingly simple fork in the road. You must choose between a 20% price boost to raw animal products or a 10% price boost to raw crops. At a brief, superficial glance, the mathematics seem to heavily favor the animal route. After all, 20% is double 10%, right? However, the true gravity of this decision rests entirely on the Level 10 professions that each of these Level 5 choices unlocks. If you want a casual, highly animated farm where you spend your mornings collecting eggs and shearing sheep, one path clearly shines. If your ultimate goal is to become an industrial agricultural tycoon producing thousands of bottles of fine wines and jars of artisanal jelly, the other path emerges as the undisputed king of Pelican Town economics. Let us completely break down the exact game mechanics, the long-term financial implications, and the strategic advantages of each option so you can build the absolute most profitable farm possible without a shadow of a doubt.
The Core Benefits and Mechanics of Your Farming Path
At the very heart of the Stardew Valley Rancher or Tiller debate is the critical concept of raw agricultural materials versus heavily processed artisan goods. The Tiller profession immediately boosts the selling price of raw crops, including vegetables, fruits, and flowers, by exactly 10%. While that single digit sounds incredibly modest for a mid-game reward, the true, game-changing benefit lies quietly hidden behind the Level 10 milestone: the Artisan profession. The Artisan perk increases the final value of almost all artisan goods, such as wine, cheese, mayonnaise, and pale ale, by a staggering 40%. Conversely, the Rancher profession immediately grants you a 20% monetary bump on all raw animal products. When Ranchers finally reach Level 10, they are allowed to choose between Coopmaster, which guarantees faster egg incubation and significantly happier coop animals, or Shepherd, which ensures your sheep produce wool much faster.
Read also: Stardew Valley Cross Platform Multiplayer Guide; What is Prime Day? The Ultimate Amazon Shopping Guide.
To genuinely understand this massive divide, you must heavily evaluate what kind of player you actually are and what infrastructure you plan to build. For example, a dedicated player growing hundreds of Starfruit seeds will vastly out-earn someone selling raw iridium-quality milk, provided that crop farmer actively processes their Starfruit into premium wine using kegs. On the other hand, an early-game player who is severely struggling for immediate cash flow might highly appreciate the immediate 20% boost to raw eggs just to afford backpack upgrades. The value proposition of the Tiller route is exponential wealth scaling. The value proposition of the Rancher route is immediate, low-effort daily consistency. Below is a complete breakdown of the critical differences between the two choices.
| Profession Feature | The Rancher Path | The Tiller Path |
|---|---|---|
| Immediate Level 5 Bonus | Raw animal products sell for 20% more gold. | Raw crops sell for 10% more gold. |
| Level 10 Unlocks | Coopmaster or Shepherd (Faster animal yields). | Artisan or Agriculturist (40% Artisan good boost or faster growth). |
| Best Suited For | Casual players, heavily animal-focused aesthetic farms. | Min-maxers, wine empires, and maximum endgame profitability. |
Before you hastily click a button on the level-up screen, there are three major factors you absolutely must assess about your current playthrough:
- Evaluate your daily energy consumption and time availability, because tending to massive crop fields requires heavy stamina investment until you unlock quality sprinklers, whereas animals require daily petting to maximize product quality.
- Calculate your current and future access to kegs and preserve jars, as the Tiller path relies heavily on bulk processing to actually leverage the Level 10 Artisan perk effectively.
- Consider your overall tolerance for daily maintenance; animals cannot be skipped without losing friendship, but automated crop fields with Junimo Huts essentially harvest themselves in the late game.
Origins of the Farming Skill Tree
When the beloved farming simulator first launched, the entire skill tree was specifically designed to reward players for their individual labor preferences. The developer actively envisioned a balanced economic ecosystem where a player could genuinely choose to ignore seeds entirely and survive solely on raising livestock. The original coding implemented these flat percentage boosts to ensure that early-game milestones felt incredibly impactful and rewarding. At that specific time in gaming history, early players experimented wildly, trying to meticulously figure out if selling raw parsnips and potatoes could ever realistically compete with a massive barn completely full of cows and goats.
Evolution of Animal vs Crop Metas
Over the subsequent years of updates, the dedicated gaming community developed highly optimized strategies, permanently shifting the absolute balance of economic power. The widespread introduction of Ancient Fruit and Starfruit wine empires heavily skewed the core meta toward massive crop processing. Significant updates to the game eventually introduced amazing new items like the Auto-Petter, which radically altered the viability of maintaining massive animal farms without losing your entire morning to petting them. Yet, despite these great additions, the underlying mathematics of the Artisan profession remained overwhelmingly dominant. Players quickly realized that while farm animals provided incredibly steady, reliable daily income, crops processed in wooden kegs offered unprecedented, exponential wealth accumulation.
The Modern State of Stardew Economics
Today, the absolute consensus among veteran players heavily favors one highly specific route for late-game wealth, though early-game viability still keeps the alternative somewhat relevant. The modern economic landscape of Pelican Town basically demands massive wooden sheds entirely filled with kegs, making the Tiller route overwhelmingly popular. However, the game thankfully allows you to completely change your professions later at the Statue of Uncertainty in the sewers. This brilliant mechanic means modern players often switch their skills completely dynamically, depending on the current season, their immediate financial goals, or whether they are simply hoarding goods for a massive, end-of-year sale.
The Mathematics of Artisan Goods
Let us thoroughly run the hard numbers on the Stardew Valley Rancher or Tiller decision to see the math in action. If you harvest a standard, base-quality Melon during the summer, it sells for exactly 250 gold. If you possess the Tiller profession, that identical Melon instantly becomes worth 275 gold. But if you take that raw Melon and place it directly into a Keg, it eventually ferments into Melon Wine, which holds a massive base price of 750 gold. If you chose Tiller at Level 5 and subsequently chose Artisan at Level 10, that exact same bottle of wine now sells for a staggering 1,050 gold. This 40% multiplier applies specifically to the processed value, which is inherently already a massive multiple of the original base crop value. This specific compounding mathematics creates a runaway economic advantage that simply cannot be matched by raw eggs.
Growth Cycles and Processing Times
Animals, by complete contrast, operate on rigidly fixed daily or semi-daily biological cycles. A mature pig finds exactly one truffle per day on average, completely barring double-forage perks from the foraging tree. A happy cow produces exactly one pail of milk per day. You absolutely cannot force a single cow to miraculously produce ten milks in a day, but you can effortlessly plant ten times as many seeds in your dirt. The technical financial ceiling for crops is completely limited only by your available farm tiles and your processing equipment capacity.
- Tiller automatically applies a flat 10% multiplier to all raw vegetables, fruits, and flowers the moment they are placed in the shipping bin.
- Rancher directly applies a 20% multiplier to raw eggs, milk, and wool, but crucially does NOT apply to processed goods like cheese or cloth unless you lack the Artisan perk.
- The Statue of Uncertainty located deep in the Sewers allows a complete profession change for exactly 10,000 gold, rendering any early-game mistakes completely fixable.
- Keg processing times require exactly 10,000 in-game minutes for wine, which conveniently aligns almost perfectly with a standard 7-day crop growth cycle for seamless harvesting and brewing logistics.
Step 1: Assess Your Current Spring Setup
Look critically at your farm layout on the exact day you hit Level 5. If you do not currently own a functioning coop or a barn, selecting the animal-focused path offers literally zero immediate benefit. Tiller, however, will instantly boost the selling price of every single potato, kale, and strawberry you harvest for the rest of the season.
Step 2: Calculate Your Keg Capacity
Take a hard look at your oak resin production. If you have not started heavily tapping oak trees, your transition into the massive wealth of the late game will be severely delayed. Begin placing tappers immediately so you can leverage the Tiller route properly.
Step 3: Choose Tiller for Long-Term Wealth
When the screen pops up, confidently select the Tiller option. While the 10% boost seems small right now, it is the mandatory gateway you must pass through to unlock the legendary 40% Artisan boost at Level 10.
Step 4: Hoard Crops for Processing
Stop selling your raw, base-quality crops immediately. Instead, meticulously hoard them in wooden chests. Only sell the silver and gold quality crops for immediate cash, saving the normal quality ones specifically to be processed in jars and kegs later.
Step 5: Rush to Farming Level 10
Plant massive fields of fast-growing crops to rapidly grind out the remaining experience points. Every single crop harvested pushes you closer to Level 10. Once you hit the maximum level, immediately lock in the Artisan profession.
Step 6: Diversify with Pigs
Even if you skipped the animal profession, you should absolutely still invest heavily in pigs. Truffles are technically categorized as forage, not animal products. However, when you process a truffle in an oil maker, Truffle Oil is classified as an artisan good, meaning it gets the massive 40% Artisan price boost!
Step 7: Re-evaluate at the Statue of Uncertainty
If you absolutely must sell off a massive stockpile of raw wool or high-quality raw milk, you can visit the dog statue in the sewers, pay 10,000 gold, switch to Rancher for one night to sell everything at a 20% premium, and then immediately switch back to Artisan the next day.
Myths and Realities of Farming Professions
The community is often flooded with massive amounts of misinformation regarding how the game calculates prices. Let us permanently clear up the confusion.
Myth: The Rancher profession makes cheese and mayonnaise sell for significantly more gold.
Reality: Rancher absolutely only boosts raw milk and raw eggs. To boost cheese and mayonnaise, you strictly need the Artisan profession, which is entirely locked behind the Tiller path.
Myth: You are permanently locked into your choice forever once you click the button.
Reality: You can pay the Dog Statue in the Sewers exactly 10,000 gold to completely change your entire profession tree whenever you want.
Myth: The Tiller path is completely useless before you reach Level 10.
Reality: The flat 10% boost forcefully applies immediately to all raw crops you ship, providing a highly reliable and solid cash injection needed for purchasing expensive summer seeds.
Myth: Farm animals are fundamentally not profitable unless you specifically choose Rancher.
Reality: Animals generate incredible, massive wealth regardless of your Level 5 choice because processing their drops into cheese, cloth, and mayonnaise benefits heavily from the Artisan perk instead.
Does Tiller affect fruit trees?
Yes, raw fruit tree fruits receive the standard 10% price boost when shipped directly, making orchards slightly more profitable in the early game.
Does Rancher affect truffles?
No, truffles are strictly considered forage items by the game’s code, entirely bypassing the animal product price buff.
Can I choose both professions?
No, you must exclusively pick one path per character, forcing a permanent strategic divide unless you pay to completely swap them later.
Which is better for early game?
Tiller is universally considered vastly better because massive crop fields are the absolute primary income source throughout all of Year 1.
Do I need Tiller to get Artisan?
Yes, the highly coveted Artisan perk is completely locked exclusively behind the Tiller path at Level 10.
Does Rancher boost mayonnaise?
No, mayonnaise is categorized as an artisan good, meaning it requires the completely opposite skill tree to receive a price boost.
How much does it cost to change professions?
It costs exactly 10,000 gold at the Statue of Uncertainty located deep within the town sewers.
Does Tiller boost foraged items?
No, items like wild blackberries and spring onions are governed entirely by the separate Foraging skill tree.
Does Rancher affect fish ponds?
No, fish roe and aged roe are heavily tied to the Fishing skill tree and the Artisan profession respectively.
Is Shepherd or Coopmaster better if I choose Rancher?
Shepherd is generally considered more profitable due to the sheer speed at which happy sheep produce highly valuable wool.
Ultimately, successfully choosing between the Stardew Valley Rancher or Tiller profession dictates the exact trajectory of your entire farming empire. While petting cows has undeniable charm, the staggering, sheer economic dominance of the Tiller-to-Artisan pipeline simply cannot be ignored by anyone looking to maximize their daily profits. Now that you understand the absolute depths of the math, boot up your current save file, walk out of your farmhouse, and make your definitive choice with total confidence!