
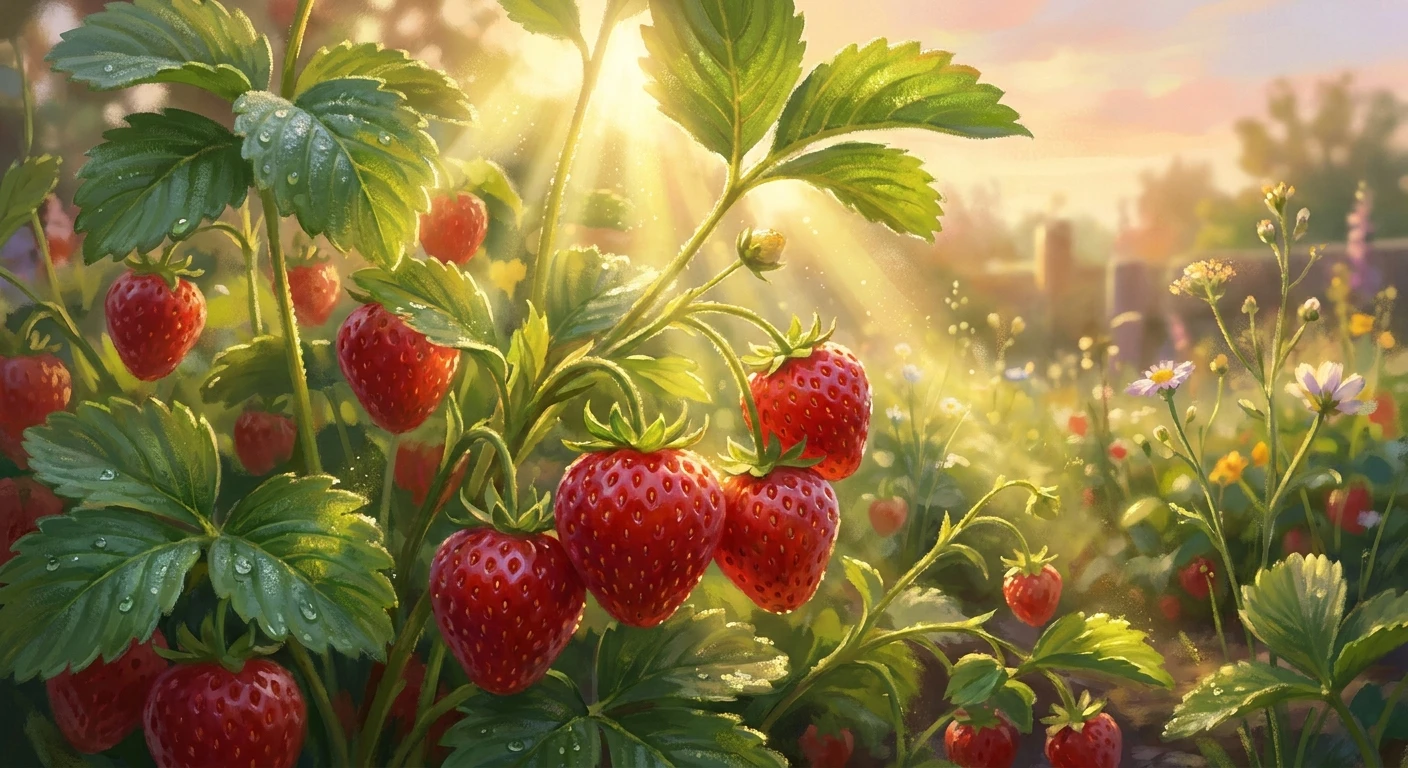
The Absolute Best Strategy for Growing Strawberries
Let me tell you right off the bat, growing strawberries is honestly the most rewarding thing you can pull off in your backyard right now. I still remember hanging out at my family’s dacha just a quick drive outside of Kyiv last summer. We were picking these tiny, incredibly fragrant red berries right off the dirt, popping them straight into our mouths before they ever reached a basket. The taste? Absolutely nothing like the watery, plastic-tasting stuff you usually buy at the supermarket. It was a complete burst of intense, sun-warmed sweetness. My thesis here is simple: absolutely anyone can master the art of cultivating these gorgeous red fruits if they just stick to a few basic rules regarding sunlight, soil preparation, and consistent watering. You do not need to be a seasoned farmer with acres of land to make this happen. Whether you have a massive garden plot or just a small sunny balcony, cultivating your own fresh fruit is entirely within your reach. It just takes a little bit of patience and the right strategy to get those sweet, juicy yields that will make your neighbors completely jealous.
The core benefit of taking control of your own fruit supply is massive. When you figure out the exact mechanics of this gardening process, you instantly unlock a completely new level of flavor and quality. You get to dictate exactly what goes into the soil and what goes onto the plant. Let me give you a couple of real-world examples of why this is such a game-changer. First, there is the incredible financial value. Have you seen the prices of organic produce lately? By producing your own yield, you save a significant amount of money over a single summer season. Second, there is the massive health benefit. You are eating fruit that is 100% free of harsh commercial pesticides, waxes, and chemical sprays. You can pick them and eat them directly without stressing about washing off toxic residue.
To really get this right, you need to know what you are planting. Here is a quick breakdown of the main types you will encounter:
| Plant Type | Typical Harvest Time | Best Used For |
|---|---|---|
| June-bearing | Early to mid-summer | Massive single harvests, perfect for making large batches of jam. |
| Everbearing | Early summer and early fall | Consistent, smaller yields for fresh snacking throughout the season. |
| Day-neutral | Continuously from summer to frost | Small spaces and container gardening, offering a steady trickle of fruit. |
Now, to set up your growing area perfectly, you need a highly specific preparation sequence. Just throwing seeds in the dirt will not cut it. Follow this exact workflow:
- Test your soil pH: You are looking for a slightly acidic environment, ideally somewhere between 5.5 and 6.8. If your soil is too alkaline, your plants will severely struggle to absorb iron and other necessary nutrients.
- Amend with rich compost: Work in at least two to three inches of high-quality, fully broken-down organic compost. This drastically improves the drainage profile while simultaneously feeding the root systems.
- Construct raised mounds: Do not just plant them flat. Build up small hills or raised beds. This keeps the delicate crowns elevated above sitting water, which is the number one cause of fungal rot.
The Wild Origins of the Sweet Berry
Have you ever stopped to think about where these plants actually came from? The history of these little red gems is absolutely fascinating. Long before we had massive commercial farms, wild varieties were growing abundantly across the forests of Europe and the Americas. The ancient Romans actually used wild, woodland varieties extensively, but not just for snacking. They heavily relied on them for medicinal purposes, treating everything from deep depressive states to common sore throats. These early wild types were incredibly tiny, highly aromatic, and packed a massive punch of flavor, but they lacked the size we expect today.
Evolution into Backyard Staples
The massive, juicy fruit we all recognize today actually didn’t exist until the 18th century. It happened almost by accident in France. Botanists crossed a specific variety from North America, known for its bright color and hardiness, with a massive variety brought over all the way from Chile. This legendary cross-pollination created the garden variety we know today, scientifically called Fragaria x ananassa. It was an absolute breakthrough. Suddenly, gardeners had access to plants that produced heavy yields of large, durable, and intensely sweet fruit. It totally revolutionized European gardens and quickly spread back across the globe as a prized crop.
The Modern State of Berry Cultivation
Fast forward to where we are now. The current year is 2026, and the way we approach urban agriculture and home gardening has shifted dramatically. Thanks to insane advancements in vertical planters, smart drip-irrigation systems, and specialized soil biomes, growing these fruits is more efficient than ever. We no longer rely on back-breaking labor in massive fields. Modern backyard enthusiasts are utilizing high-tech soil sensors linked straight to their smartphones to monitor exact moisture levels, ensuring every single plant performs at its absolute genetic peak.
Understanding Soil Mechanics and pH Levels
Let’s talk about the hard science for a second, because understanding the underlying mechanics will save you a ton of frustration. The cellular biology of these plants relies heavily on the cation exchange capacity of your soil. This basically means how well your soil can hold onto and release crucial nutrients like magnesium, calcium, and potassium. If your pH is out of whack, a chemical lockout occurs. Even if the soil is packed with expensive fertilizers, the plant literally cannot absorb them because the chemical bonds in the soil are too tight. Fixing your pH is the absolute foundation of everything you do in the garden.
Photosynthesis and Fruit Sugar Development
The next major scientific factor is how the plant converts raw sunshine into literal sugar. Through the process of photosynthesis, the broad green leaves pull in carbon dioxide and light, synthesizing complex carbohydrates. These sugars are then transported directly into the developing fruit. If you crowd your plants too closely, the leaves will constantly shade each other out. This severely restricts the photosynthetic rate, resulting in pale, sour, and thoroughly disappointing fruit. Sun exposure is not just about warmth; it is the literal fuel for sugar production.
- They are not true berries: Botanically speaking, they are “aggregate accessory fruits.” The fleshy part we eat is actually the swollen receptacle of the flower.
- External seeds: Those tiny specks on the outside? Those are the actual botanical fruits, called achenes, and each one contains a single tiny seed.
- Stolons and runners: These plants reproduce incredibly fast by shooting out horizontal stems called runners, which clone the mother plant and root themselves nearby.
Day 1: Site Selection and Sunlight Analysis
Your very first move is tracking the sun. You need a spot that gets an absolute minimum of six to eight hours of direct, unfiltered sunlight every single day. Go out in the morning, check where the shadows fall, and check again at noon and late afternoon. Do not guess; actually map it out. If you plant in partial shade, you will get tons of lush green leaves but virtually zero blossoms.
Day 2: Soil Testing and Amendment
Grab a simple, cheap soil test kit from the hardware store. Check your pH levels. If it is too high, grab some elemental sulfur and work it into the top few inches of dirt. Next, dump a massive amount of well-rotted organic matter right on top. Mix it in thoroughly to ensure the ground is loose, airy, and smells earthy and rich.
Day 3: Sourcing the Perfect Bare-Root Plants
Skip the expensive, mature potted plants from the nursery. You want to buy dormant, bare-root crowns from a reputable supplier. They look like little dead bundles of stringy roots, but they are incredibly vigorous. Soak these roots in a bucket of clean, room-temperature water for exactly one hour before you put them in the dirt to wake them up from dormancy.
Day 4: Planting with Proper Crown Depth
This is where most beginners completely fail. You must plant them at the exact right depth. There is a thick part right above the roots called the crown. If you bury the crown under the dirt, the whole plant will rot and die in a week. If you plant it too high and expose the roots, it dries out. The midpoint of the crown must sit exactly level with the soil surface.
Day 5: Setting Up the Drip Irrigation System
Do not use an overhead sprinkler. Wet leaves invite aggressive fungal diseases like powdery mildew and botrytis rot. Run a cheap, simple drip line right along the base of your raised beds. This delivers water directly to the root zone where the plant actually needs it, keeping the foliage completely bone dry.
Day 6: Mulching for Moisture and Weed Control
You absolutely must protect the bare soil. Grab a bale of clean straw—make sure it is straw, not hay loaded with weed seeds—and tuck it tightly around the base of every single plant. This serves two massive purposes. It stops the sun from evaporating your soil moisture, and it keeps the developing fruits elevated off the damp earth so they do not rot.
Day 7: Pruning Early Blossoms for Root Growth
This is the hardest part psychologically, but you have to do it. When your new plants start throwing out their very first white blossoms, you need to aggressively pinch them off. Yes, you are sacrificing the earliest fruit. By removing these flowers, you force the plant to redirect all its massive energy into establishing a deep, bulletproof root system for the rest of the year.
Let’s clear up some massive misconceptions that hold people back.
Myth: You need a massive, sprawling farm to get a good harvest.
Reality: Absolute nonsense. Pots, hanging baskets, and vertical PVC planters work completely perfectly. As long as the roots have drainage and the leaves get sun, they do not care where they live.
Myth: Plants only produce for one single year and then die.
Reality: With good runner management and basic winter care, a healthy patch easily lasts three to four solid years before yields start to drop.
Myth: Pumping them full of chemical fertilizer equals sweeter berries.
Reality: Over-fertilizing, especially with heavy nitrogen, gives you giant, massive green leaves but tiny, watery, flavorless fruits. You want balanced organic matter, not a chemical overload.
Myth: You absolutely must plant them from tiny seeds.
Reality: Growing from seed takes forever and is notoriously unreliable. Bare-root dormant crowns are the absolute gold standard for fast, guaranteed results.
How much water do they actually need?
They are incredibly thirsty plants because of their shallow root systems. You need to aim for roughly one to two inches of water per week. The soil should feel like a wrung-out sponge—damp, but absolutely not muddy or waterlogged.
Can I grow them entirely indoors?
Yes, but you absolutely have to use strong, full-spectrum LED grow lights. Placing them next to a window is almost never enough sunlight to trigger a robust fruit set.
What are the absolute worst pests to watch out for?
Slugs and birds are your biggest enemies. Slugs will chew massive holes in ripe fruit overnight. Use organic iron phosphate bait for the slugs and throw protective bird netting over the beds as soon as the fruit starts turning red.
When exactly should I harvest?
Wait until the entire berry is a deep, uniform crimson red. Unlike tomatoes, they absolutely will not continue to ripen or get sweeter once you pull them off the plant. Pick them in the cool morning hours.
Do they need special winter protection?
Yes. Once the ground freezes hard, cover the entire patch with a thick, four-inch layer of clean straw. This stops the vicious freeze-thaw cycles that can physically heave the plants right out of the soil.
Why are my plant leaves turning bright yellow?
This is almost always a classic sign of an iron deficiency, usually triggered by soil that is way too alkaline or soil that is heavily waterlogged and unable to breathe.
Should I aggressively cut off the runners?
If you want maximum fruit production, yes. Snip the runners off immediately. If you want to expand your patch and get free clone plants for next year, let a few of them root into the soil.
Listen, taking the leap and finally growing strawberries yourself is a decision you will never regret. The insane flavor difference, the total control over your food, and the simple joy of grabbing breakfast straight from the dirt make it an absolute must-do project for 2026. Get outside, test that soil, map your sunlight, and start building your beds. Grab your bare-root crowns today and kickstart your journey toward the sweetest, most rewarding harvest you have ever experienced!